Quick and Delicious Butterfinger Balls Recipe: Perfect for Any Occasion
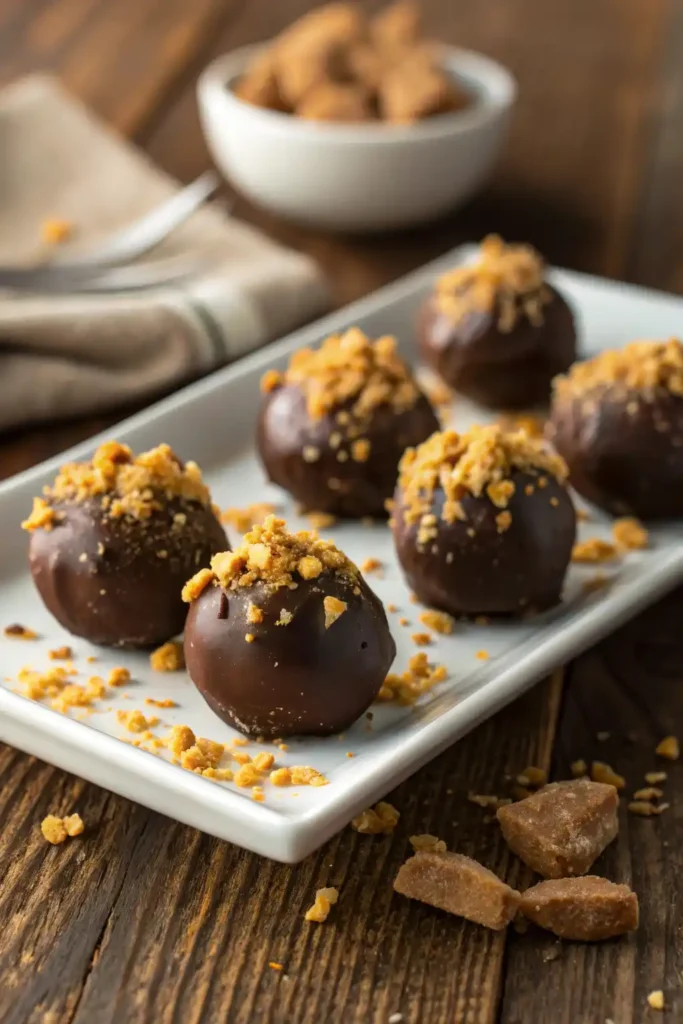
If you’re looking for an easy, no-bake dessert that’s a guaranteed crowd-pleaser, you’ve just found it! These Butterfinger Balls recipe combine the crunchy, peanut-buttery goodness of Butterfinger candy bars with smooth chocolate and creamy peanut butter, creating a bite-sized treat that’s irresistibly delicious.
Whether you need a last-minute party snack, a fun holiday treat, or just something sweet to satisfy your cravings, this quick and simple recipe comes together in under 20 minutes with only a handful of ingredients. Plus, no oven required!
Why You’ll Love This Recipe
✔ No-Bake & Super Easy – Perfect for beginners or when you need a hassle-free treat.
✔ Just a Few Ingredients – Butterfingers, peanut butter, chocolate, what’s not to love?
✔ Make-Ahead Friendly – Store them in the fridge or freezer for later.
✔ Great for Holidays & Gifting – A hit at Christmas, Halloween, or any celebration.
By the end of this guide, you’ll have step-by-step instructions, expert tips, and even fun variations to customize your Butterfinger Balls. Ready to get started? Let’s dive in!
Table of Contents
Ingredients You’ll Need
Before we get started, let’s gather the ingredients. You only need a few pantry staples to whip up these delicious Butterfinger Balls!
Main Ingredients:
- 1 ½ cups crushed Butterfinger candy bars – Adds that signature crunch and caramelized peanut butter flavor.
- ¾ cup creamy peanut butter – Helps bind everything together and enhances the peanut butter goodness.
- 1 cup powdered sugar – Balances the sweetness and keeps the texture smooth.
- 1 ½ cups melted chocolate (semi-sweet or milk chocolate chips) – Creates a rich, chocolatey coating.
- 1 tbsp coconut oil (optional) – Helps thin the chocolate for a smooth dip.
Optional Add-Ins & Substitutions:
✔ Swap creamy peanut butter for crunchy if you love extra texture.
✔ Use dark chocolate for a richer, less sweet coating.
✔ Add a pinch of sea salt to enhance the flavors.
💡 Pro Tip: Crush the Butterfingers finely for a smoother texture or leave some chunks for extra crunch!
Step-by-Step Instructions
Follow these simple steps to make the perfect Butterfinger Balls every time.
Step 1: Crush the Butterfinger Bars
- Place the Butterfingers in a ziplock bag and crush them with a rolling pin, or use a food processor for a finer texture.
- Set aside a small handful of crushed candy to sprinkle on top later!
Step 2: Mix the Filling
- In a large mixing bowl, combine the crushed Butterfingers, peanut butter, and powdered sugar.
- Mix thoroughly until all the ingredients are evenly combined, creating a smooth and thick dough.
- If the mixture feels too dry, add 1 tbsp of melted butter or a little extra peanut butter.
Step 3: Roll Into Balls & Chill
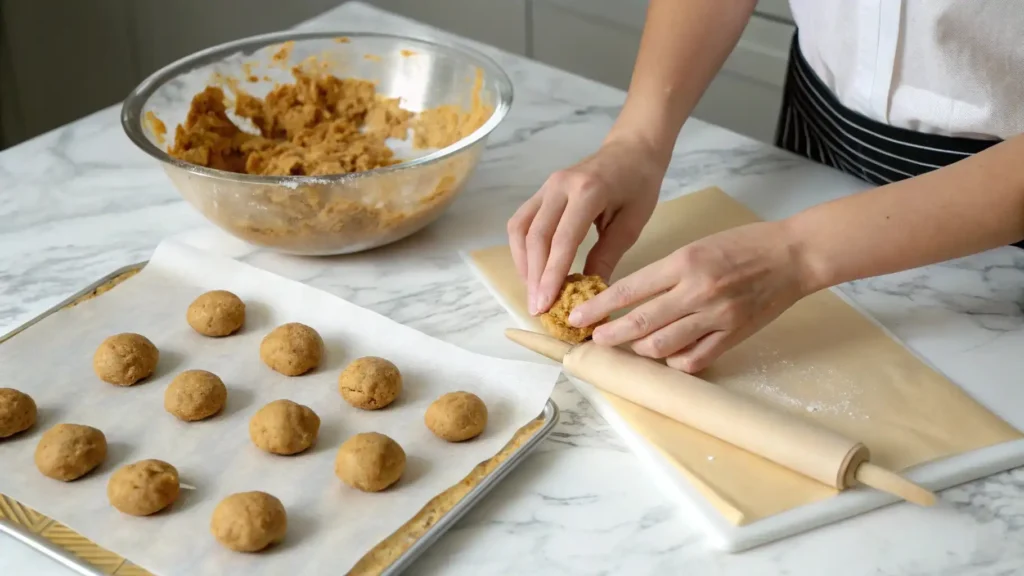
- Scoop out tablespoon-sized portions and roll them into smooth balls.
- Place them on a parchment-lined baking sheet and refrigerate for at least 20 minutes to firm up.
Step 4: Melt the Chocolate
- In a microwave-safe bowl, melt the chocolate chips and coconut oil in 30-second intervals, stirring in between.
- Keep stirring until smooth and glossy.
Step 5: Dip & Coat
- Using a fork or toothpick, dip each Butterfinger ball into the melted chocolate, making sure it’s fully coated.
- Allow any extra chocolate to drip off before setting the coated ball onto the parchment paper.
Step 6: Let Set & Enjoy!
- Sprinkle the reserved crushed Butterfinger bits on top for extra crunch.
- Refrigerate for 30 minutes or until the chocolate hardens.
- Enjoy immediately or store for later!
💡 Pro Tip: For a bakery-style finish, drizzle extra melted chocolate on top before serving.
Pro Tips for the Best Butterfinger Balls
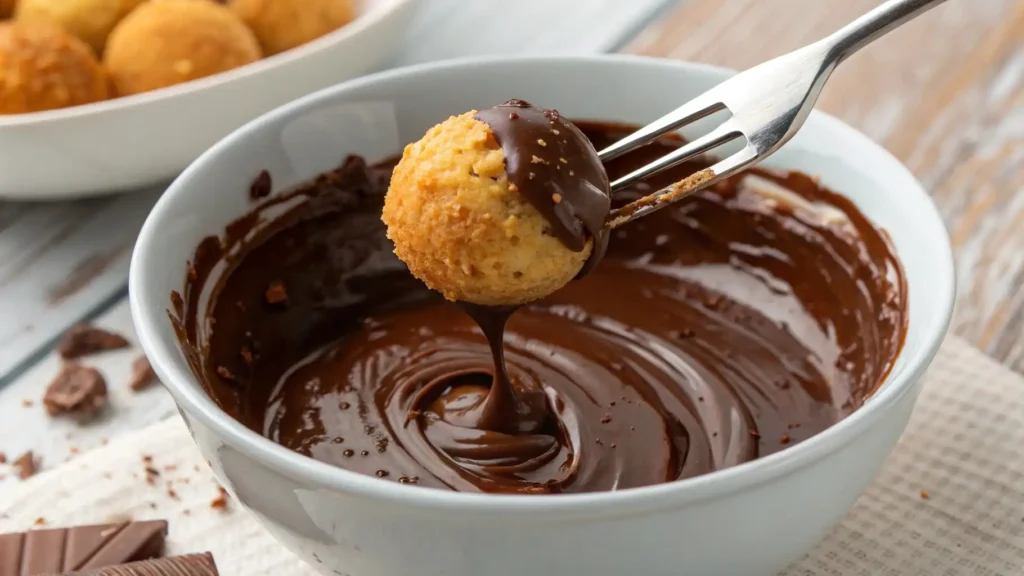
Want to make sure your Butterfinger Balls turn out perfectly every time? Follow these expert tips!
1. How to Prevent Sticky Hands When Rolling
- Lightly coat your hands with non-stick cooking spray or a bit of butter before rolling the balls.
- Chill the mixture in the fridge for 10 minutes before rolling for easier handling.
2. The Best Chocolate for Dipping
- Use high-quality chocolate like Ghirardelli or Guittard for the smoothest coating.
- Add 1 tbsp coconut oil to the melted chocolate for a glossy, professional finish.
3. How to Get a Smooth, Even Coating
- Use a toothpick or fork to dip each ball and let the excess chocolate drip off before setting it on parchment paper.
- If the chocolate starts to thicken while dipping, reheat it in 10-second intervals until smooth.
4. How to Store & Freeze for Later
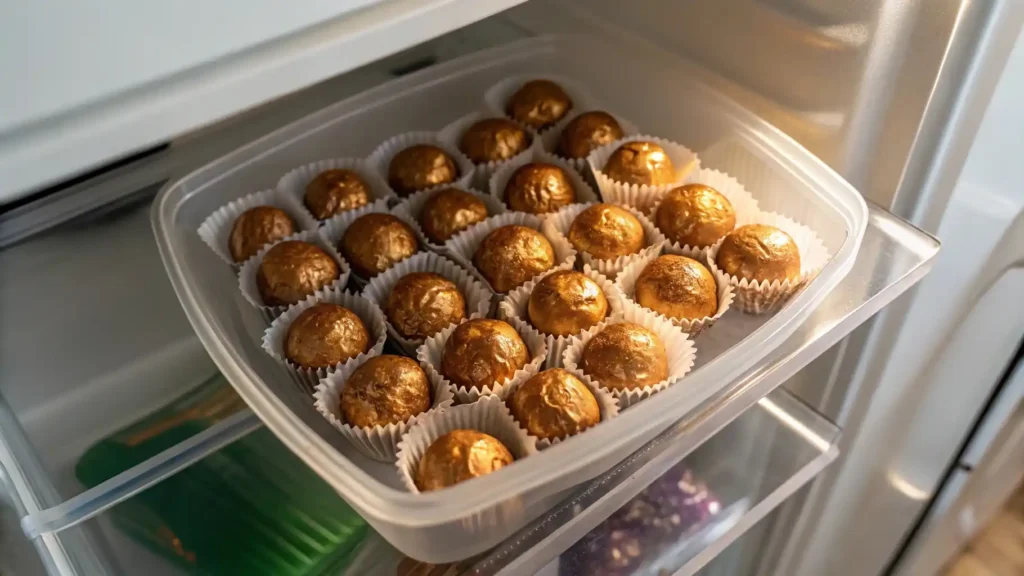
- In the fridge: Store in an airtight container for up to 1 week.
- In the freezer: Freeze for up to 3 months, just let them thaw at room temp for 10 minutes before eating.
💡 Pro Tip: Separate layers with parchment paper to prevent sticking when storing.
Fun Variations & Customizations
Want to mix things up? Try these creative twists!
1. White Chocolate Butterfinger Balls
- Swap the milk chocolate for white chocolate to create a sweeter, creamier version.
2. Crunchy Peanut Butter Option
- Use crunchy peanut butter instead of creamy for an extra textured bite.
3. Keto-Friendly Version
- Replace powdered sugar with monk fruit sweetener and use sugar-free chocolate.
4. Add a Sweet & Salty Twist
- Sprinkle a pinch of sea salt or crushed pretzels on top for a salty-sweet balance.
How to Serve Butterfinger Balls
These Butterfinger Balls are delicious on their own, but here are some fun ways to serve them for parties, holidays, and special occasions.
1. As a Party Dessert
- Arrange them on a decorative platter with other bite-sized treats.
- Drizzle extra melted chocolate on top for a gourmet touch.
- Serve in mini cupcake liners for a professional presentation.
2. Paired with Other Desserts
- Serve alongside ice cream for a crunchy, peanut buttery topping.
- Dip them into a chocolate fondue fountain for a fun treat.
- Crumble them over milkshakes, brownies, or cheesecakes.
3. Gift-Worthy Sweet Treat
- Package in decorative boxes or mason jars for holiday gifts.
- Tie with a ribbon and attach a handwritten tag for a personal touch.
💡 Pro Tip: Serve them chilled for the best texture and flavor!
Storage & Shelf Life
How to Store Butterfinger Balls
To keep your treats fresh and delicious, follow these storage tips:
- Refrigerate in a sealed, airtight container to keep them fresh for up to one week.
- In the freezer: Freeze for up to 3 months in a sealed container. Let them thaw for 10-15 minutes before eating.
- Room temperature: Not recommended for long periods, as the chocolate may soften or melt.
Preventing Sticking & Softening
✔ Place parchment paper between layers to prevent sticking.
✔ If the chocolate softens, chill for 5-10 minutes before serving.
✔ Keep them away from heat or direct sunlight to maintain their shape.
Conclusion: Enjoy your Delicious Butterfinger Balls Recipe
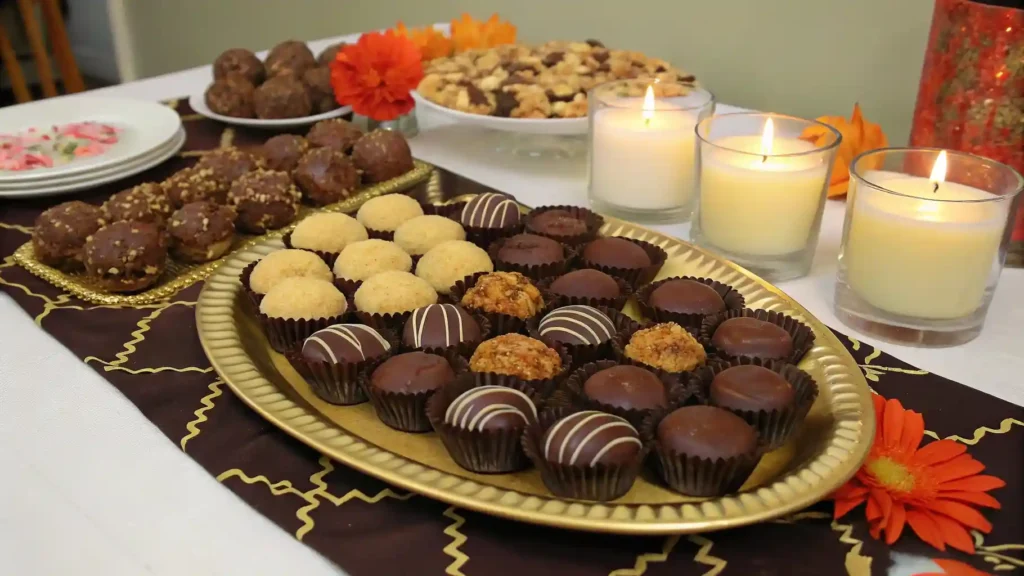
There you have it! These Butterfinger Balls are the perfect no-bake dessert for any occasion. Whether you’re hosting a party, bringing a homemade treat to a gathering, or simply craving something sweet, these peanut butter and chocolate bites will always hit the spot.
Don’t forget to experiment with some of the fun variations we’ve shared, or get creative with your own twists. Whether you enjoy them on their own or paired with other desserts, Butterfinger Balls are sure to be a crowd favorite.
Call to Action
We’d love to hear how your Butterfinger Balls turn out! Drop a comment below or showcase your creation on social media! If you enjoyed this recipe, check out our other no-bake desserts for even more delicious ideas!
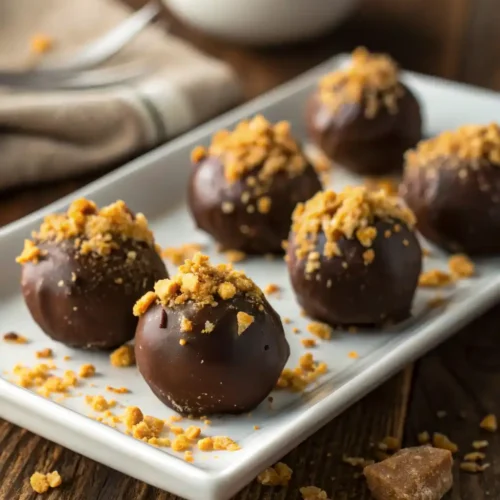
Quick and Delicious Butterfinger Balls Recipe: Perfect for Any Occasion
Equipment
- 1 Mixing Bowl Large enough for dough mixing
- Fork or Toothpick For dipping in chocolate
- Parchment Paper To prevent sticking
- Baking Sheet To place rolled balls
Ingredients
- 1 ½ cups Crushed Butterfinger Candy Bars Finely crushed
- ¾ cup Peanut Butter Creamy preferred
- 1 cup Powdered Sugar
- 1 ½ cups Chocolate Chips Semi-sweet or milk chocolate
- 1 tbsp Coconut Oil Optional, for smooth chocolate
Instructions
- Crush the Butterfingers into fine crumbs using a food processor or rolling pin.
- Mix the ingredients – In a large bowl, combine crushed Butterfingers, peanut butter, and powdered sugar until smooth.
- Roll into balls – Form 1-inch balls and place them on a parchment-lined baking sheet.
- Chill – Refrigerate for 20 minutes to firm up.
- Melt the chocolate – Microwave chocolate chips and coconut oil in 30-second intervals, stirring until smooth.
- Dip each ball in melted chocolate using a fork, then place back on parchment paper.
- Decorate & Set – Sprinkle crushed Butterfinger pieces on top and refrigerate for 30 minutes.
- Serve & Enjoy – Store in an airtight container in the fridge or freeze for later.
Notes
- For a nut-free version, swap peanut butter for sunflower seed butter.
- Want extra crunch? Use crunchy peanut butter instead of creamy.
- Storage Tip: Keep in an airtight container in the fridge for up to 1 week or freeze for up to 3 months.
FAQ
Can I make Butterfinger Balls ahead of time?
Yes! These are perfect for make-ahead treats. Store them in an airtight container in the fridge for up to 1 week, or freeze them for up to 3 months. Just thaw for a few minutes before serving.
How do I keep them from melting?
If your Butterfinger Balls feel too soft at room temperature, try these tips:
Use high-quality chocolate that sets well.
Chill them longer in the fridge before serving.
Avoid storing in warm areas, keep them cool until ready to eat.
What’s the best way to crush Butterfinger bars?
The easiest methods include:
Food processor – Fast and gives a fine, even texture.
Rolling pin & ziplock bag – Great for a chunkier texture and easy cleanup.
Hand-crushing – If you prefer small, uneven chunks for extra crunch.
Can I make these without peanut butter?
Absolutely! Try these substitutions:
Almond butter or cashew butter for a similar texture.
Cookie butter (Biscoff) for a unique, caramelized flavor.
Sunflower seed butter for a nut-free version.
Can I use a different type of chocolate?
Yes! Feel free to customize:
Dark chocolate – Less sweet, richer flavor.
White chocolate – Creamy, sweet, and visually stunning.
Milk chocolate – Classic choice for a traditional Butterfinger taste.

