Hard Tack Candy Recipe with Pro Tips: How to Make This Nostalgic Treat Like a Candy Maker
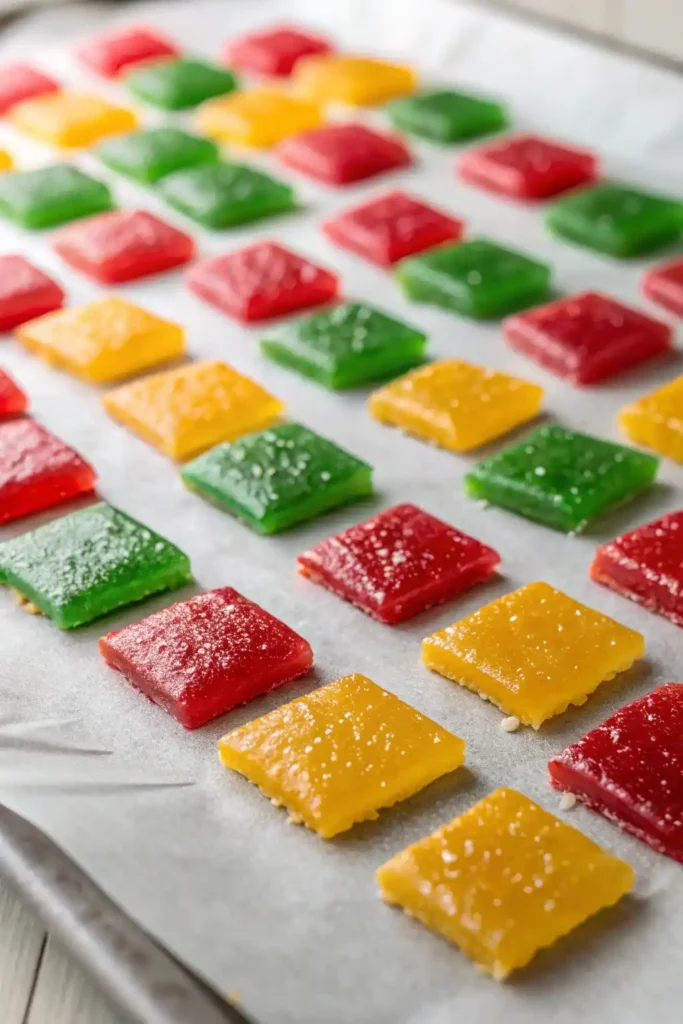
There’s something magical about homemade hard tack candy, the vibrant colors, the burst of flavor, and the satisfying crunch that brings back childhood memories. Whether it’s a holiday tradition or a year-round sweet indulgence, this old-fashioned candy has stood the test of time.
Making hard tack candy at home might seem tricky, but with the right techniques and pro tips, you’ll master the process like a seasoned candy maker. From achieving the perfect glass-like texture to preventing stickiness, this guide will walk you through every step, ensuring foolproof results.
💡 What makes this recipe special?
Unlike basic tutorials, this recipe is packed with expert insights, covering temperature precision, troubleshooting mistakes, and creative flavor variations, so your candy turns out perfect every time.
So grab your candy thermometer, some sugar, and your favorite flavors, and let’s dive into the ultimate hard tack candy recipe! 🍬✨
Table of Contents
What Is Hard Tack Candy? A Classic Sweet With a Long History
Hard tack candy is a timeless confection known for its bright colors, bold flavors, and satisfying crunch. Made from simple ingredients like sugar, corn syrup, and flavoring oils, this glass-like hard candy has been a staple in holiday candy dishes for generations.
A Brief History of Hard Tack Candy
This old-fashioned treat dates back centuries, with early versions appearing in Europe before making their way to America. Traditionally, hard tack candy was a favorite during Christmas and winter months, when homemade sweets were crafted in bulk and shared with family and friends.
The name “hard tack” comes from its hard, brittle texture, similar to the long-lasting crackers (also called hardtack) that sailors and soldiers carried. But unlike the bland biscuits of history, this candy is bursting with flavor, ranging from classic cinnamon and peppermint to unique fruity combinations.
Why Is Hard Tack Candy So Popular?
✔ Easy to Make: Requires just a few pantry staples.
✔ Endless Flavor Possibilities: From warm cinnamon to refreshing citrus.
✔ Perfect for Holidays & Gifts: Beautifully packaged homemade candy makes a great present.
✔ Long Shelf Life: Properly stored, it lasts for months without losing its crunch.
Now that we know what makes this candy so special, let’s gather the essential ingredients and tools to ensure perfect results!
Essential Ingredients and Equipment for Perfect Hard Tack Candy
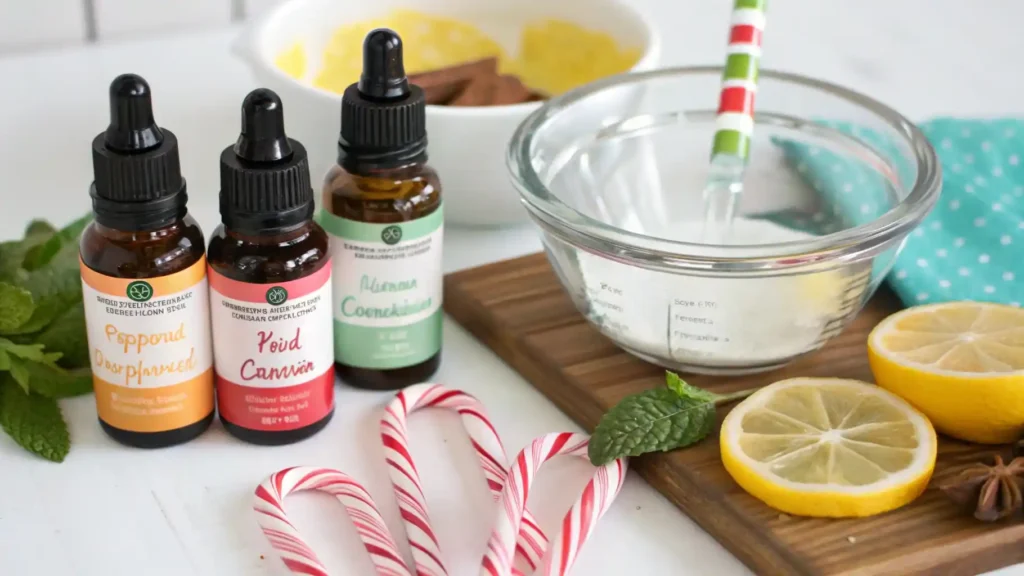
Before diving into the candy-making process, it’s essential to have the right ingredients and tools on hand. Hard tack candy is simple to make, but precision is key, especially when it comes to temperature control and ingredient quality.
Ingredients You’ll Need
Each ingredient in this recipe plays a crucial role in achieving the perfect texture, flavor, and appearance.
✔ Granulated Sugar (2 cups) – The foundation of the candy, providing structure and sweetness.
✔ Light Corn Syrup (¾ cup) – Prevents crystallization, keeping the candy smooth and glossy.
✔ Water (½ cup) – Helps dissolve the sugar and control the cooking process.
✔ Flavoring Oil (1 teaspoon) – Highly concentrated, ensuring bold and long-lasting flavor. Popular choices:
- Cinnamon 🍁
- Peppermint ❄
- Lemon 🍋
- Cherry 🍒
- Orange 🍊
✔ Liquid or Gel Food Coloring (optional) – Adds vibrant colors to match flavors.
✔ Powdered Sugar (for dusting, optional) – Prevents candy pieces from sticking together.
Essential Equipment for Foolproof Candy Making
✅ Heavy-Bottomed Saucepan – Ensures even heat distribution to prevent burning.
✅ Candy Thermometer – The key to precise temperature control (more on this later!).
✅ Heat-Resistant Silicone Spatula – Ideal for stirring without causing sugar crystallization.
✅ Baking Sheet or Marble Surface – Used for pouring and cooling the candy.
✅ Kitchen Scissors or Mallet – For breaking the hardened candy into bite-sized pieces.
✅ Airtight Containers – Keeps the candy fresh and prevents stickiness.
Now that we have everything ready, let’s jump into the step-by-step recipe and make some delicious hard tack candy! 🍬🔥
Step-by-Step Hard Tack Candy Recipe
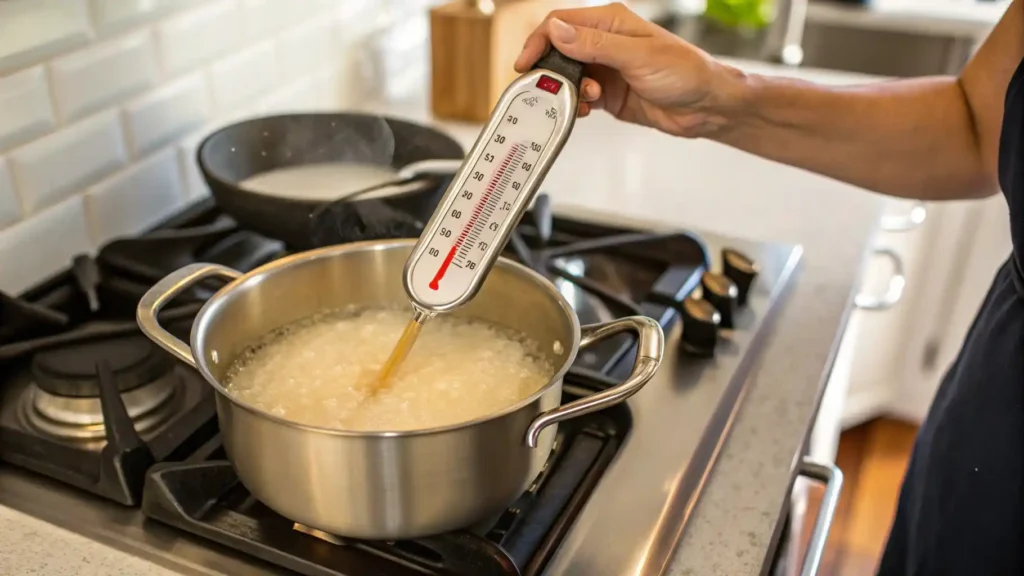
Now that you have all your ingredients and tools ready, it’s time to make your homemade hard tack candy! This recipe follows a precise method to ensure the perfect glass-like texture, bold flavor, and beautiful color. Follow these steps carefully, and you’ll create candy that looks and tastes like it came straight from a professional candy maker’s kitchen.
Step 1: Prepare Your Workspace
Before you start, have everything set up, as candy-making moves quickly!
✔ Grease a baking sheet (or line it with parchment paper).
✔ Measure all ingredients in advance, once the sugar reaches the right temperature, you’ll need to work fast.
✔ Have your candy thermometer ready for accuracy.
Step 2: Heat the Sugar Mixture
1️⃣ In a heavy-bottomed saucepan, combine sugar, corn syrup, and water over medium heat.
2️⃣ Stir gently until the sugar is fully dissolved. Once dissolved, stop stirring, this prevents sugar crystals from forming.
3️⃣ Insert your candy thermometer and let the mixture boil undisturbed.
🚨 Key Temperature Checkpoints:
- 230°F-235°F (Thread Stage): Syrup thickens but isn’t ready.
- 250°F-265°F (Hard Ball Stage): Still too soft for hard tack candy.
- 300°F-310°F (Hard Crack Stage): Perfect! The mixture will be clear and ready to set.
Step 3: Add Flavors and Colors
🔥 Once the sugar mixture reaches 300°F-310°F, remove it from heat immediately.
🌈 Quickly stir in flavoring oil and food coloring. Be cautious, adding flavoring may cause steam, so avoid inhaling directly.
🔄 Stir until evenly mixed, working fast before the mixture starts setting.
Step 4: Pour and Cool the Candy
✔ Pour the hot candy mixture onto your prepared baking sheet in an even layer.
✔ Let it cool for 30-45 minutes until completely hardened.
💡 Alternative Method: You can also pour into silicone molds for shaped candies!
Step 5: Break and Store
Once the candy is fully hardened:
🔨 Use a kitchen mallet or the handle of a knife to break it into small, bite-sized pieces.
🍬 Toss the pieces in powdered sugar to prevent sticking.
Storage: Keep your hard tack candy in an airtight container at room temperature. It stays fresh for up to 3 months!
Pro Tips for Perfect Hard Tack Candy
Making hard tack candy might seem like an easy task, but achieving perfect texture and flawless results requires attention to detail. Here are pro tips that will help you avoid common mistakes and elevate your candy-making game, just like a professional candy maker!
1. Use a Candy Thermometer for Precision
This is one of the most important tips for candy-making. The temperature of the sugar mixture determines whether your candy will be too soft or too hard.
- Accuracy is crucial, a few degrees can make a huge difference.
- Always ensure your candy thermometer is properly calibrated and placed correctly in the syrup (avoid touching the pan).
2. Avoid Stirring After Sugar Dissolves
Once the sugar and syrup dissolve, stop stirring. Stirring can cause sugar crystals to form, which will ruin the smooth texture of your candy.
- Instead, swirl the pan gently if you need to mix the syrup without disturbing the sugar’s integrity.
3. Watch the Weather: Humidity Affects Candy
Humidity is a candy-maker’s worst enemy. High humidity can cause the candy to become sticky, soft, and difficult to store.
- On humid days, try to cook your candy to the higher end of the temperature range (closer to 310°F). This ensures it will set up properly and avoid becoming too soft.
4. How to Avoid Sticky Candy
Sticky hard tack candy is often the result of underheating the sugar mixture or high humidity. Here’s how to prevent stickiness:
- Cook the syrup to the correct temperature, a candy thermometer is the best tool for this.
- Store in an airtight container to keep moisture out.
- Consider dusting candy pieces with powdered sugar to absorb excess moisture.
5. Experiment with Different Flavors and Colors
While classic flavors like cinnamon and peppermint are always popular, don’t hesitate to get creative! Hard tack candy is versatile, and you can easily add your personal touch:
- Try layered colors for a fun, festive look.
- Add spicy cinnamon, fruit-flavored oils, or even cocoa powder for a chocolatey twist.
- For a holiday-themed treat, make red and green peppermint layers or cinnamon and orange combinations.
6. Troubleshooting Common Mistakes
Candy-making doesn’t always go as planned, but don’t worry, here’s how to fix some common issues:
- Candy won’t harden?
- Reheat the mixture and cook it a bit longer to reach the hard crack stage.
- Candy is too soft?
- You didn’t cook the syrup to a high enough temperature, reheat and cook until it reaches 310°F.
- Candy is cloudy or grainy?
- You likely stirred too much or didn’t allow the sugar to dissolve properly. Be patient, and ensure all sugar is dissolved before boiling.
Storage and Packaging Tips for Hard Tack Candy
Once your hard tack candy is made, you want to ensure it stays fresh, crisp, and delicious for as long as possible. Proper storage and packaging are key to preserving the texture and flavor of your candy. Let’s dive into the best ways to store and package your hard tack candy to keep it in perfect condition!
How to Store Hard Tack Candy
1. Keep It Airtight
The most important rule for storing hard tack candy is to keep moisture out. Because hard tack candy is incredibly brittle and susceptible to humidity, an airtight container is essential.
- Use tightly sealed glass jars, plastic containers with airtight lids, or even resealable plastic bags.
- For long-term storage, you can place a silica gel packet inside the container to absorb any moisture and prevent the candy from becoming sticky.
💡 Pro Tip: Store your candy in a cool, dry place, away from heat sources like direct sunlight, ovens, or stovetops. A pantry or kitchen cabinet works best.
2. Avoid Storing in the Fridge
While it may seem tempting to keep your candy in the refrigerator to prolong its shelf life, don’t do it! The cold, moist environment of the fridge can cause your hard tack candy to soften and become tacky.
- Room temperature is ideal for storage.
💡 Pro Tip: If you’re storing your candy in bulk, separate it into smaller portions or individual bags to prevent excess air exposure every time you open the container.
How Long Does Hard Tack Candy Last?
When stored properly in an airtight container at room temperature, your hard tack candy can last for up to 3 months. Its hard, dry nature makes it shelf-stable, so you won’t have to worry about it going stale anytime soon.
💡 Pro Tip: If you notice any candy becoming soft or sticky, reheat and re-cook it back to the hard crack stage (300°F-310°F) to regain its crispiness.
Creative Packaging Ideas for Gifting
Hard tack candy makes an exceptional gift, it’s homemade, thoughtful, and looks beautiful in a jar or bag. Whether you’re giving it as a holiday treat, birthday gift, or just because, here are some fun ways to package your candy:
1. Classic Glass Jars
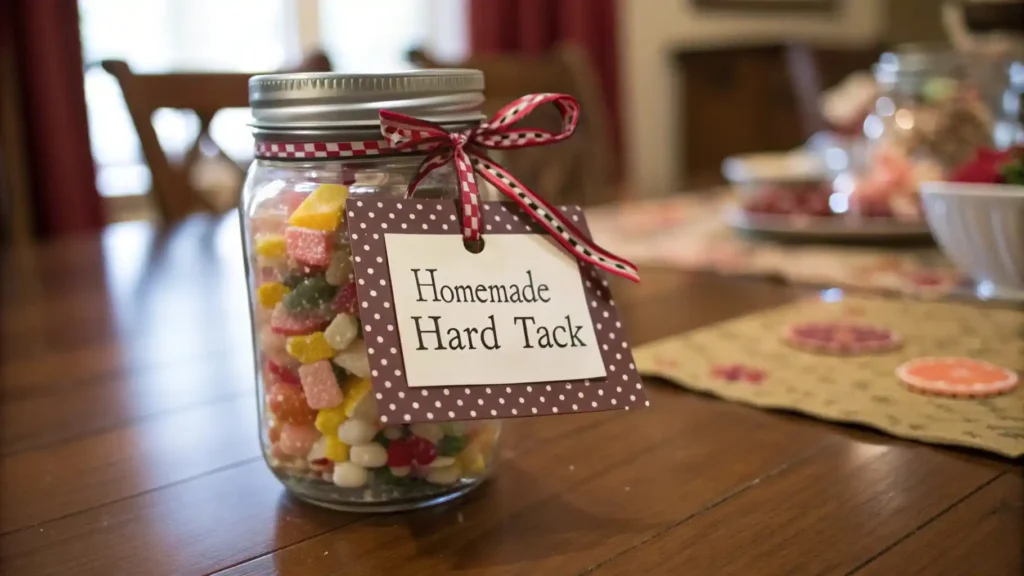
A small mason jar or vintage glass jar is a charming way to present hard tack candy.
- Fill the jar with colorful candy and top it with a cute ribbon or twine for a rustic, homemade feel.
- Add a personalized tag to make the gift even more special.
💡 Pro Tip: Layer the colors of your candy in the jar to create a rainbow effect, making it look even more visually appealing.
2. Decorative Candy Bags
For a more modern touch, cellophane candy bags are a great option for packaging individual servings of candy.
- Fill the bags with candy, tie them with a bow, and you’ve got the perfect gift.
- Add a custom label with a note about the flavor or an ingredient list.
💡 Pro Tip: For a more festive look, use colored bags or printed designs that match the theme of the gift (like red for Christmas or pink for Valentine’s Day).
3. Vintage Tin Boxes
A vintage tin box can be a unique and reusable way to store or gift hard tack candy.
- Find one with a classic design, and fill it with your homemade candy.
- Wrap the tin with a ribbon, and include a personalized card for a charming presentation.
💡 Pro Tip: If you want to add a scented touch, consider including a small sachet of dried flowers (like lavender) to keep the candy smelling fresh and aromatic.
Conclusion: Mastering the Art of Hard Tack Candy
Making hard tack candy at home is a rewarding and fun process that brings a sweet taste of nostalgia to any occasion. By following our step-by-step guide and using the pro tips, you can create perfectly crisp, flavorful, and eye-catching candies that will impress everyone who tastes them. Whether you’re making traditional peppermint or experimenting with exciting new flavors like watermelon, cherry, or apple cinnamon, the possibilities are endless.
Remember, the key to success in candy-making lies in precision:
- Use a candy thermometer to reach the perfect temperature.
- Keep your workspace prepared and clean for smooth execution.
- Customize flavors, colors, and shapes to make your candy your own.
When you store your hard tack candy properly and package it thoughtfully, you can enjoy it for months or give it as a heartfelt gift. It’s a treat that combines creativity with tradition, and once you master it, you’ll be able to make batches that rival any candy shop.
So, what are you waiting for? Grab your ingredients, and start making your own batch of hard tack candy today!
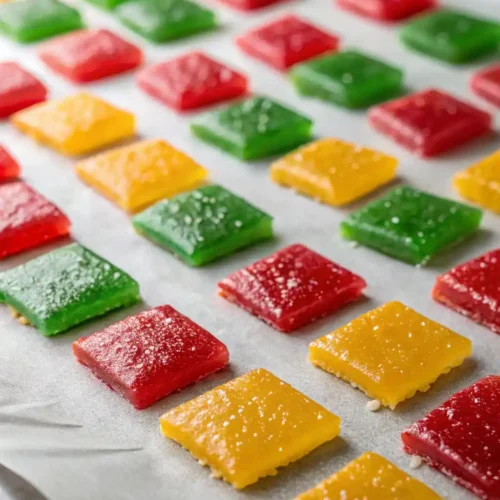
Hard Tack Candy Recipe
Equipment
- Candy thermometer
- Heavy-bottomed pot
- Baking Sheet
- Parchment Paper
- Silicone spatula or spoon
Ingredients
- 2 cups of granulated sugar
- 1 cup of light corn syrup
- 1/2 cup of water
- 1/2 teaspoon of flavoring e.g., peppermint, cinnamon
- Food coloring optional
Instructions
- Prepare the Equipment: Line a baking sheet with parchment paper and set aside.
- Heat the Syrup: In a heavy-bottomed pot, combine sugar, corn syrup, and water. Heat over medium-high, stirring occasionally.
- Check Temperature: Attach the candy thermometer to the pot and bring the mixture to a boil. Let it cook until it reaches 300°F-310°F (Hard Crack Stage).
- Add Flavor & Color: Once the syrup reaches the hard crack stage, remove it from the heat. Quickly stir in the flavoring oil and food coloring (if desired).
- Pour & Cool: Pour the hot syrup onto the prepared baking sheet, spreading it evenly. Let it cool and harden for about 30 minutes before breaking it into pieces.
Notes
- Storage Tip: Store hard tack candy in an airtight container in a cool, dry place for up to 3 months.
- Flavor Variations: Try different flavoring oils like cinnamon, lemon, or fruit flavors for a personalized twist.
- Pro Tip: Ensure your candy thermometer is calibrated for accurate temperature readings.
FAQ
Can I use a different type of sugar in hard tack candy?
While granulated white sugar is the best choice for achieving the correct texture and consistency, you can experiment with light corn syrup or brown sugar for different flavors. However, brown sugar may alter the color and texture of the candy. Granulated sugar is highly recommended for the best results.
How can I avoid my hard tack candy becoming sticky?
Sticky candy is usually the result of not cooking the sugar mixture to the correct temperature or exposure to humidity. To avoid stickiness:
Cook the syrup to 300°F-310°F (Hard Crack Stage).
Store your candy in an airtight container in a cool, dry place.
Consider adding a silica gel packet to absorb moisture during storage.
Can I make hard tack candy without a candy thermometer?
Technically, yes, but it’s highly recommended to use a candy thermometer for precise results. Without it, you’ll need to rely on the cold water test, which involves dropping a small amount of the syrup into cold water and checking for consistency. However, the thermometer ensures a more accurate result and reduces the risk of burning the sugar or making the candy too soft.
How long does hard tack candy take to set?
After pouring the mixture onto your prepared baking sheet or into molds, the candy typically takes 30-45 minutes to cool and harden completely. The cooling time may vary depending on the thickness of the candy.
How do I know when my hard tack candy is done cooking?
The key is reaching the Hard Crack Stage (300°F-310°F) on a candy thermometer. If you don’t have a thermometer, you can use the cold water test to check if the syrup hardens into a brittle thread. If it does, the candy is ready to pour.


